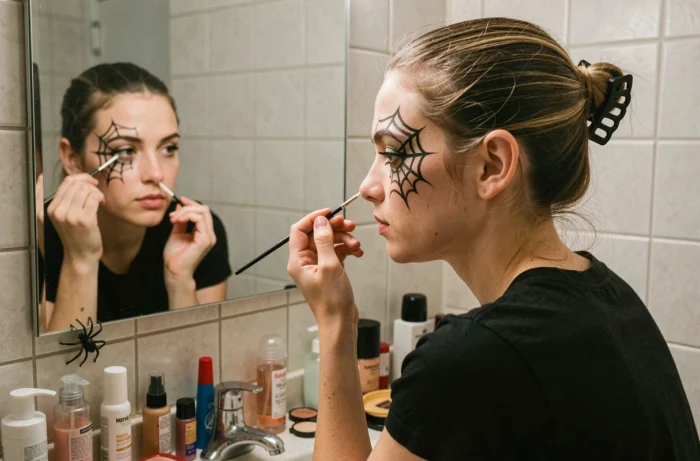
We’ve all experienced that moment: Halloween night is in three hours, the costume is ready, but the spider makeup looks like a shapeless blob on the cheek. The problem rarely comes from talent. It comes from the technique, the base, and the order in which the layers are applied. With a black pencil, a dark eyeshadow, and a fine brush, you can achieve a clean result without buying a specialized kit.
Preparing the skin before a heavy Halloween makeup
Before drawing anything, the skin must be clean, dry, and slightly moisturized. Spider makeup often covers a large area (eyelid, temple, cheek), and applying eyeshadow on poorly prepared skin guarantees quick smudging. A light moisturizer, absorbed for five minutes, is sufficient as a base.
On sensitive or reactive skin, recent dermatological guidelines recommend doing a patch test on the inside of the wrist, especially with festive products purchased from supermarkets. Delayed reactions can occur, and they ruin the evening much more than a crooked line.
You can also find several beauty tips on Touche de Beauté that detail the preparation routine suitable for this type of makeup.
A often overlooked point: applying a matte base or translucent powder before drawing. The pencil and eyeshadow adhere better to a powdered surface than to a shiny cream. This also prevents sweat (inevitable during the evening) from causing the design to run in less than an hour.
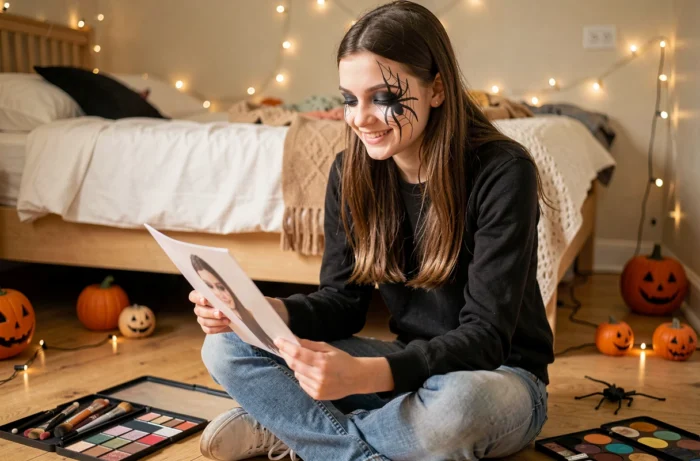
Drawing a spider web with a black pencil without a special brush
The web is the most visible part of the makeup, and it’s also the most intimidating. One might think that a professional makeup brush is necessary. In practice, a well-sharpened black kohl pencil gives a more precise line than a poorly controlled brush.
The star pattern as a starting point
Start with a central point, placed at the outer corner of the eye or on the cheekbone. From this point, draw three to five straight lines in a star pattern, spaced evenly. No need for perfect symmetry: a natural web is never geometric.
Next, connect these lines with slightly curved arcs, from the center outward. Three rows of arcs are sufficient for a legible effect from a distance. Beyond that, the design becomes cluttered and the lines blend together, especially in a small area like the temple.
Correcting mistakes without starting over
A cotton swab soaked in micellar water allows you to erase a failed line without touching the rest. It’s more precise than a regular cotton pad with makeup remover, which spreads the pigment instead of removing it. Keep the cotton swab handy throughout the drawing process.
Spider makeup: creating the insect in relief with eyeshadow and pencil
The web alone already makes an impact, but the spider placed on top transforms the makeup into a true Halloween look. No need for a prosthetic or a fake insect glued on: you can draw a credible spider directly on the skin.
Start with a black oval for the body, drawn with cream eyeshadow or a fat pencil. Two adjacent circles (the abdomen larger than the cephalothorax) create the basic silhouette. The legs extend from the front circle, four on each side, slightly curved downward.
Too straight legs give a sun-like appearance, not a spider. The curvature is the detail that makes the difference. Bend each leg into two segments: one that goes up, one that comes down, like a flattened circumflex accent.
To add relief without professional materials, apply gray or brown eyeshadow around the spider’s body with your finger. This slight shading creates an illusion of volume that works particularly well in dim light or under evening lighting.
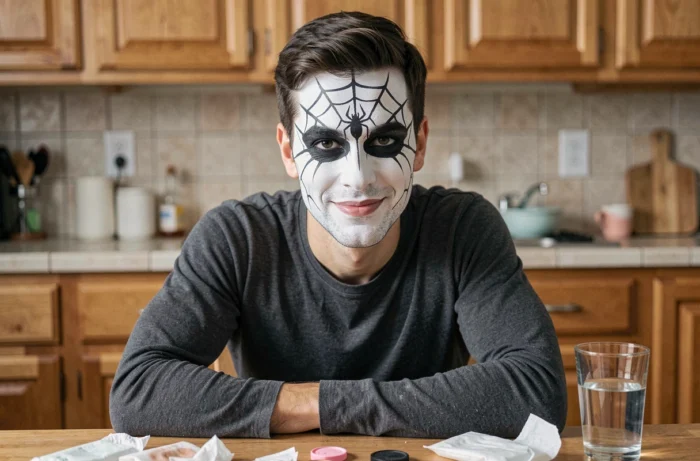
Setting the makeup to last all night
Spider makeup that fades after an hour is frustrating. The longevity depends on what products were used and the environment (heated indoors, humid outdoors, dancing).
- Makeup setting spray: one or two sprays from a distance, with eyes closed. This is the most reliable method to lock in eyeshadows and pencils simultaneously.
- Translucent loose powder: patted on with a large brush over the drawn areas, it absorbs excess oil and prevents transfer. Useful if you don’t have a spray on hand.
- Hair spray in a pinch: some spray it from a distance on the face. Feedback varies on this point, as the product can irritate the eyes and dry out the skin, but outdoors and on a small area, it holds.
The setting spray remains the most suitable solution for heavy makeup. It can be found in pharmacies or supermarkets for a few euros, and one bottle lasts for several evenings.
Glitter and shimmering effects: what European regulations say
Many spider tutorials add loose glitter around the web for a festive effect. Regulation (EU) 2023/2055 gradually regulates the use of microplastics in cosmetics, which directly concerns the plastic glitters used in Halloween makeup.
Specifically, biodegradable glitters made from cellulose or mica are a great replacement for traditional plastic glitters. They adhere just as well to cream eyeshadow and do not pose the same risk of eye irritation as synthetic particles. They can be found in organic cosmetic aisles.
Removing thick spider makeup without irritating the skin
Removing the makeup is just as important as applying it. Regular makeup remover wipes, often too abrasive, spread dark pigments instead of dissolving them. Recent beauty guides recommend a two-step cleansing: first, an oil-based makeup remover or a thick balm to loosen the makeup, followed by a gentle water-based cleanser to remove residues.
Massage the oil with your fingertips over the entire makeup area, without rubbing. The black from the pencil dissolves in the oily base and is then wiped away with a reusable cotton pad or a microfiber cloth. A rinse with warm water finishes the process.
- Oil-based makeup remover or balm: dissolves oily pigments and cream eyeshadows without friction.
- Gentle cleanser (gel or foam): removes residual film and traces of oil.
- Moisturizing cream at the end of the routine: compensates for the dryness caused by heavy makeup products.
A successful spider makeup relies on three mastered steps: well-prepared skin, a regular star pattern, and appropriate setting for the duration of the evening. The rest is just decoration.